Table of Contents
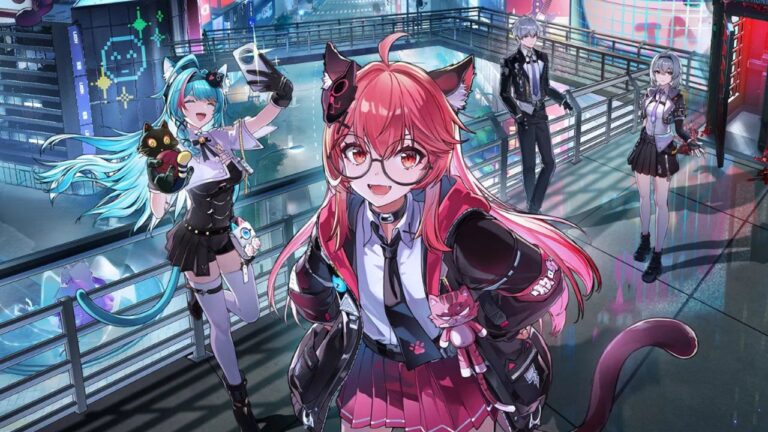
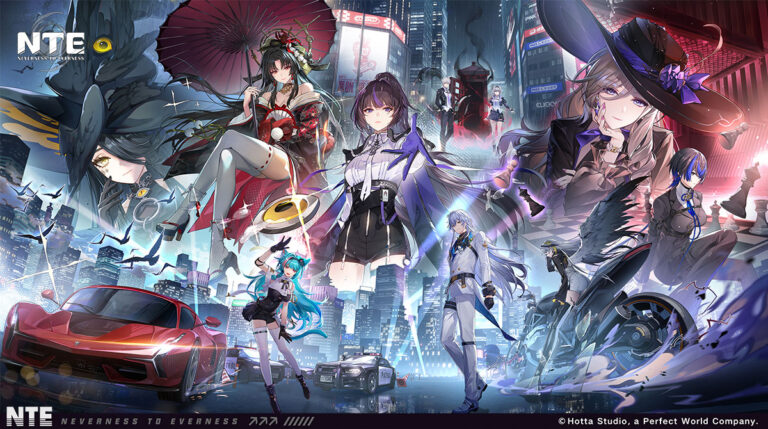
In Neverness to Everness, there are many aspects you need to understand as a beginner to really get a grip on what this game is all about. However, once you know the basics, it will all click, as things are not that complicated here (except maybe the Esper cycle). In this beginner's guide, you'll find out what you need to know to get things going in NTE.
Understanding Your Two Main Levels
Before anything else, you need to know about the two types of levels in Neverness to Everness.
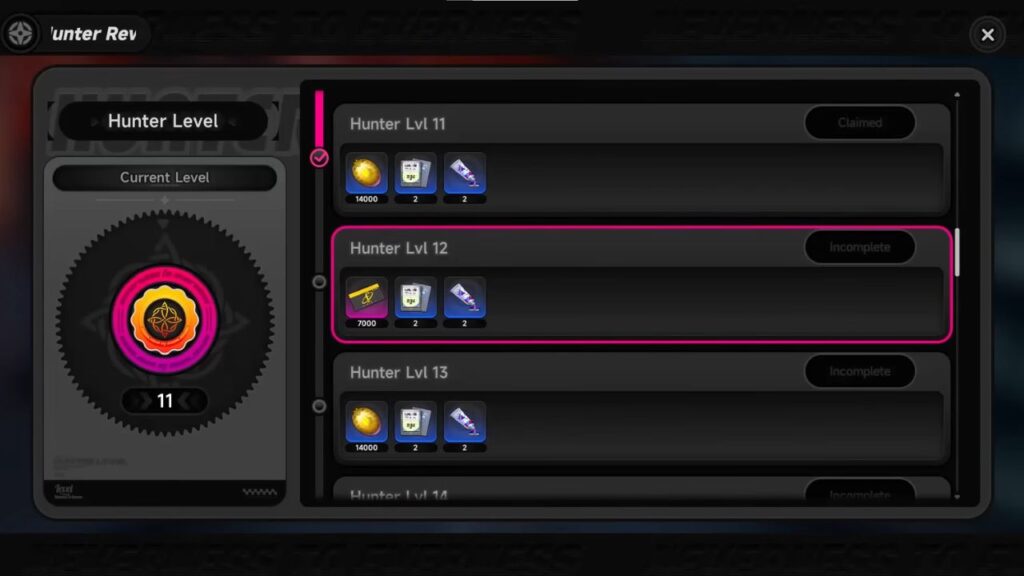
- Hunter Level goes up as you do activities in the game. Every time it increases, you get free rewards.
- Appraisal Level unlocks once your Hunter Level hits certain checkpoints. This one matters a lot because it gives you access to the endgame content and lets you raise the level cap on your characters.
Think of Hunter Level as your daily progress and Appraisal Level as the gate that opens up the real game. Nevertheless, both levels are crucial to progress and unlock more content.
How to Level Up Fast
The quickest way to gain experience is by spending your stamina on Anomaly Zones. Stamina refills at one point every 6 minutes, and the cap sits at 240 points, so that's a full 24 hours to fill up completely.
Other solid ways to earn experience include:
- Daily missions
- Exploration guides
- Anomaly commissions
- Side quests
- In-game dates and random activities around the city
Most of these are one-time things you can do at your own pace. As long as you're logging in, doing your dailies, and using your stamina, you're already ahead of most beginners.
The Tycoon System
Here's something a lot of new players ignore, and they regret it later. Neverness to Everness has an entire business management system, and it's basically a second game inside the main one.
As soon as you can, push through the main story until you meet a character named Chiz. Her quest unlocks the Tycoon menu, which opens up cafes, deliveries, races, and more.
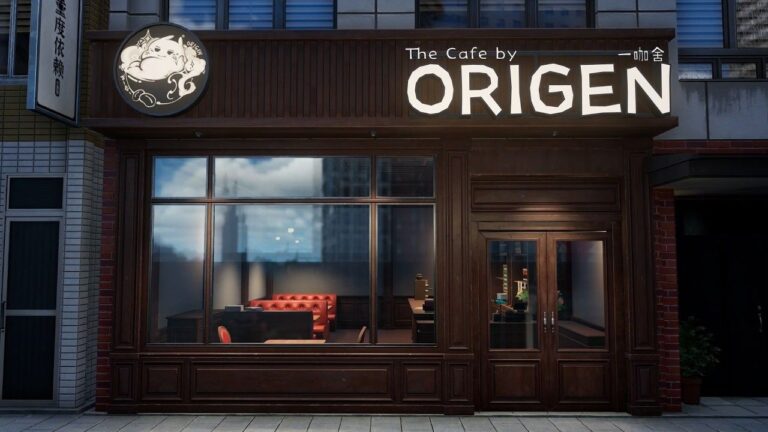
Opening Your Cafe
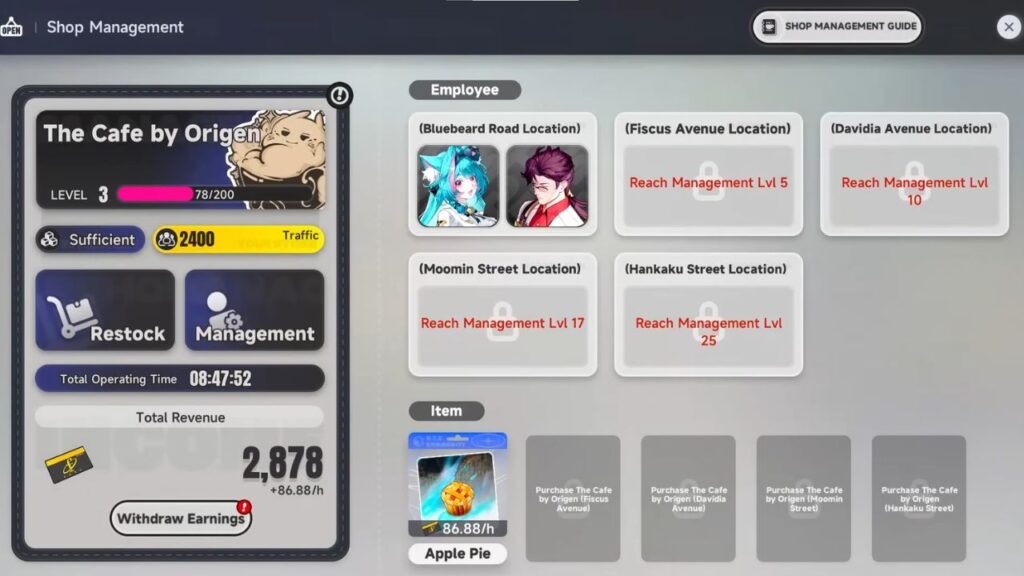
Your cafe earns you passive income while you're out doing other things in the game. It even keeps working when you're offline. Here's how it works:
- You assign employees to your cafe. Each one has a skill. For example, Haniel reduces ingredient consumption and increases dish prices.
- You set a menu based on ingredients you buy from shops around the city.
- Your cafe earns money based on how well it's set up.
One mistake to avoid: don't over-buy ingredients early on. Menu items upgrade as you level up, and if you stock too much of one ingredient, you'll be stuck with leftovers you can't use when better items unlock.
Also, buy furniture for your cafe as soon as you can afford it. It raises your cafe's popularity, which brings in more customers, which means more money.
Check out our Cafe by Origen guide to learn more.
City Stamina and How to Spend It
The Tycoon system has its own stamina called City Stamina. This one resets weekly, and you can increase the cap by raising your Tycoon Level.
City Stamina is used for:
- Deliveries
- Fishing
- Races
- Barista mini-game
- Swift Travel (taxi)
No matter which activity you choose, every City Stamina point you spend equals 1,000 Fons. So just pick the one you enjoy most.
What to Spend Your Money On
Once you start stacking Fons, here's a simple priority order:
- Invest back into your cafes — furniture, supplies, better menus
- Hunter Exchange — this shop gives you pool currency and upgrade materials for your characters
- Cars and fashion — fun stuff, but not urgent early on
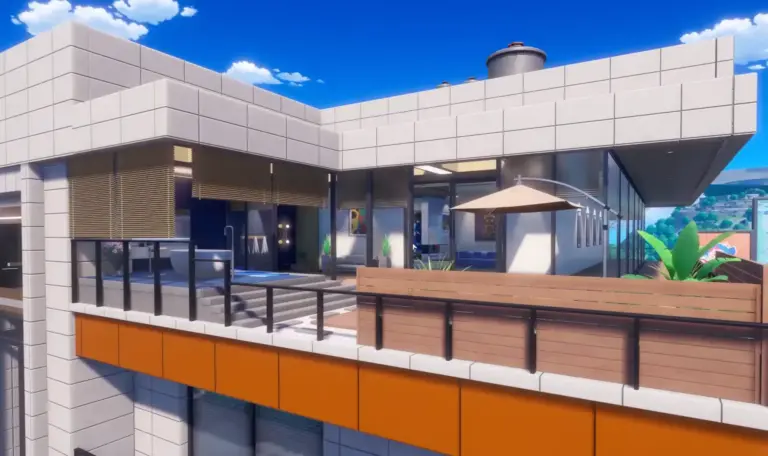
Your Apartment and the Home System
Once you buy your first apartment, you can place Anomaly Furniture inside. These are items you get from beating anomalies around the city. They're not just decorative either. Each one gives you a passive bonus.
Decorating your place raises your House Comfort level, which upgrades other home features over time.
You can also invite characters to live with you. They'll interact with your furniture, and you can do activities together to raise your Bond Level with them. Higher bond levels unlock dates, special rewards, and other bonuses.
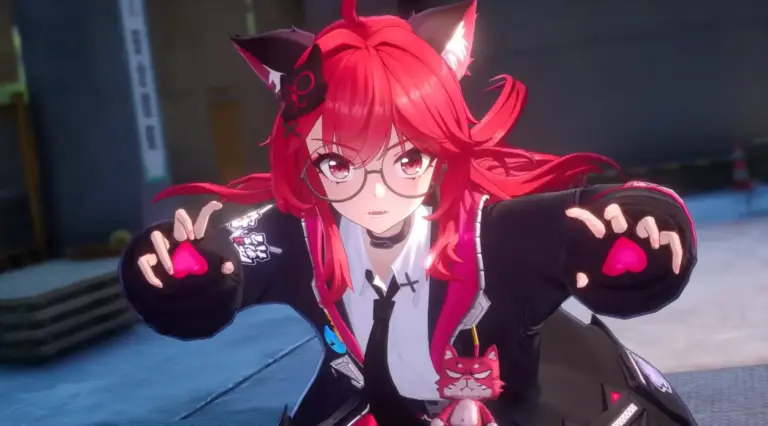
Combat and Elements: How Fighting Works
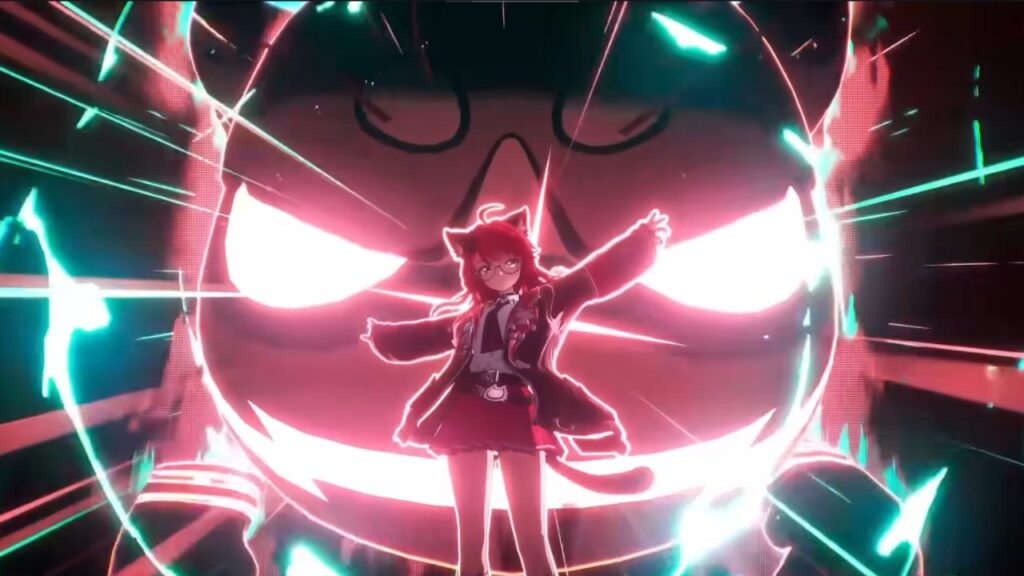
Every character in Neverness to Everness has four move types:
- Basic Attack
- Hold Attack
- Skill
- Ultimate
You can freely swap between characters during combat, either manually or by using a Cycle Skill. Cycle Skills activate when a small gauge fills up, and they trigger different effects based on which two elements are on the field at the same time.
How Elemental Reactions Work

Elements can only react with neighboring ones on the Esper wheel. Not every element pairs with every other one. Here's a quick look at the reactions:
| Reaction | Elements | What It Does |
|---|---|---|
| Blossom | Cosmos + Anima | Drops an AoE turret that attacks on its own. Great for keeping damage going without extra field time. |
| Hexed | Anima + Incantation | Deals bonus damage based on all hits the enemy took in the last 12 seconds. Better after a big combo. |
| Scorch | Incantation + Chaos | Applies a DoT that lasts 15 seconds. Good for sustained damage on tough enemies. |
| Nova | Chaos + Psyche | Attaches to the enemy and detonates for a big burst after 5 seconds. Time your burst window around this. |
| Stain | Psyche + Lakshana | Makes the enemy take 50% more Psyche and Lakshana damage for 12 seconds. Huge for damage dealers in those elements. |
| Remora | Lakshana + Cosmos | Slows enemy movement and attack speed. Useful for staying safe or setting up combos. |
Triple Reactions
| Reaction | Elements | What It Does |
|---|---|---|
| Charge | Lakshana + Cosmos + Anima (Top Trio) | Your Blossom turret generates Ultimate energy every time it hits a Remora-marked enemy. Great for teams that want their Ultimates up constantly. |
| Discord | Incantation + Chaos + Psyche (Bottom Trio) | Enemies affected by both Nova and Scorch take massive Break/Stagger damage. Your go-to for burning through boss break bars fast. |
Check out our guide on the Esper cycle to learn more about elements.
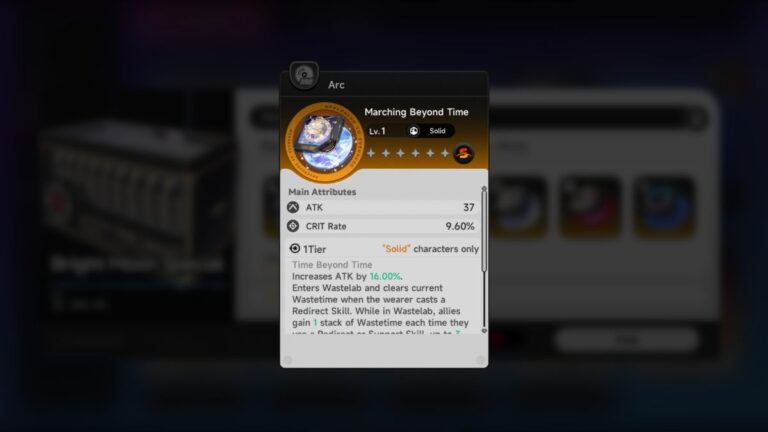
Gear: Arcs and Consoles
Arcs (Weapons)
Arcs work similarly to weapons, serving as equipment that boosts a character’s overall combat performance. Each Arc provides a fixed Base ATK increase along with an additional secondary stat that scales as the Arc levels up.
Beyond raw stats, every Arc also comes with a special combat effect that can significantly influence gameplay. These unique passives may improve damage output, support certain abilities, or enhance specific playstyles.
Arcs can be upgraded through two upgrade systems. Enhancing uses dedicated Arc materials to raise the Arc’s level, increasing both its Base ATK and secondary stat up to Level 80. Meanwhile, Mixing requires duplicate copies of the same Arc to improve its unique passive effect, with upgrades reaching up to Mixing Tier 5. Because duplicates are needed, fully upgrading higher rarity Arcs can become expensive and difficult.
Most Arcs are obtained through the game’s gacha banners. B-rank and A-rank Arcs are available from both Character and Arc banners, while S-rank Arcs are mainly featured in limited Arc banners that use Tri-Keys, alongside the permanent standard banner.
Cartridge (Artifacts)
Cartridges act as the primary equipment system for characters, similar to Relics in Honkai: Star Rail or Artifacts in Genshin Impact. Every Cartridge includes one Main Stat alongside four Sub Stats, all of which are immediately visible upon obtaining the item.
Unlike many gear systems in other RPGs, the Main Stat and Sub Stats can share the same attribute, allowing players to stack specific stats more effectively.
Cartridges are divided into three rarity tiers, B, A, and S, with higher rarities offering stronger stat values. Upgrading a Cartridge only improves its Main Stat, while the Sub Stats remain unchanged throughout the leveling process. Each Cartridge can be enhanced up to +20, and one additional Sub Stat becomes active every five levels at +5, +10, +15, and +20.
Players mainly obtain Cartridges by spending Character Pixels, the game’s stamina resource, in farming stages that also drop EXP and Ascension materials.
Modules serve as a secondary gear system that fits into a character’s Console. Every Module comes with two fixed Main Stats, Flat ATK and Flat HP, alongside four randomly generated Sub Stats that are visible immediately after obtaining the item. Similar to Cartridges, these Sub Stats unlock gradually every five levels until the Module reaches +20.
Compared to Cartridges, Modules generally provide lower stat values individually, but their importance comes from contributing toward set bonuses when paired together with Cartridges.
Modules are available in B, A, and S rarities, and are also categorized into Types II, III, and IV. Higher Types occupy more Console space but provide better stats in return.
Modules are primarily acquired through the Rewind system, a dedicated module gacha mechanic accessed from the Console menu. Pulls require Carrota Coins in Bronze, Silver, or Gold variants, which players can earn through gameplay.
The main farming method for these coins involves clearing dungeons in the New Herland District near the Rabbit Hole teleport point, then speaking to the nearby NPC to claim rewards and continue the farming loop.
Character Building Tips
Awakenings
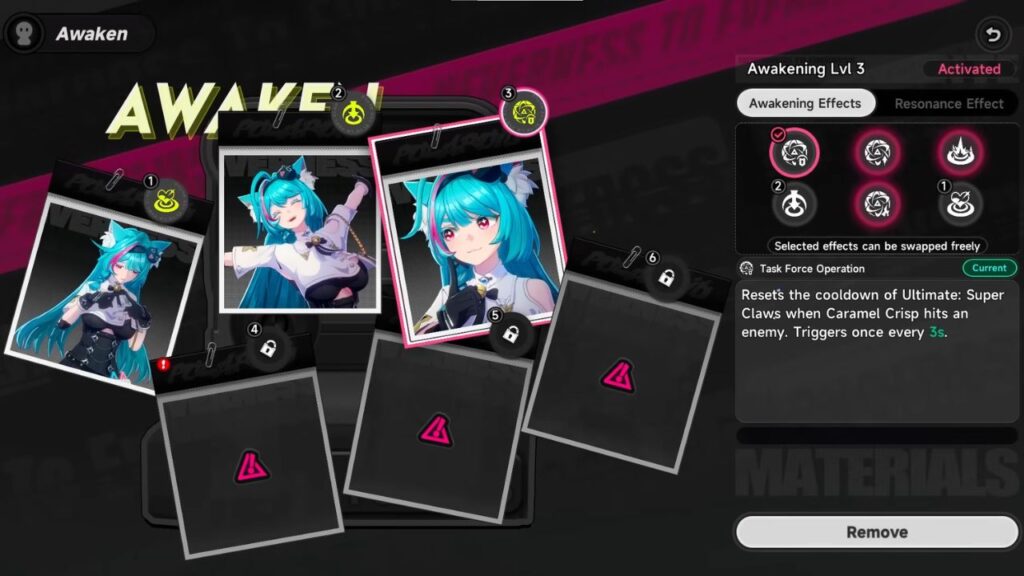
When you get duplicate copies of a character when pulling a banner, those go into Awakenings. Each duplicate gives you a point you can use to activate bonus effects. The cool part is that you can turn these on and off whenever you want.
Esper Abilities
These enhance your character's attacks and unlock Life Skills that help with earning Fons in the Tycoon system. There are also Support Skills with extra effects. These take time to fully upgrade, and they're tied to your Ascension Level, so keep that in mind as you progress.
Final Tips Before You Jump In
Here's a quick summary of the most important things to keep in mind as a beginner:
- Use your stamina every day
- Unlock Chiz's quest early for the City Tycoon feature
- Check gear stats before upgrading
- Have fun with City Stamina activities
Neverness to Everness has a lot of layers, but none of it is too hard to understand once you see how the pieces fit together. Don't be afraid to explore everything the game offers! The combat is fun, the side content is surprisingly deep, and there's always something to work toward.
Good luck with your gacha to get the best characters in the game!